PaleYo

Author - Noah

The Pain Relief Project – Natural Solutions That Actually Work

The Centre for Epigenetic Expression is a Chiropractic think tank created by Drs. Wanda Lee MacPhee, Michael Acanfora and Noah DeKoyer. These wellness-based chiropractors have a combined 40+ years of experience working with tens of thousands of patients in Nova Scotia, Canada and Hudson County, New Jersey, USA.

The seeds for The Centre for Epigenetic Expression were sown as a result of being accountability partners for 5 years. We share a desire to help humanity live an innately healthy lifestyle, and are passionate about bridging the gap between the Chiropractic Lifestyle, the public and the Holistic Wellness Community.

Our Website is www.centreforepigeneticexpression.com

Our first project is The Pain Relief Project – Natural Solutions That Actually Work. It is an online health and wellness summit that launches January 19th – 26th

pain-relief-project

Watch our intro video here: http://youtu.be/cS2StSqkBes?list=UUlwU9bfYoLt1uQ2WBsRq-HA

Register here: https://as219.isrefer.com/go/summitreg/CEE/

Become an affiliate (share this summit and receive 50% commission on all purchases from your unique link) http://painreliefproject.com/affiliate/

Over the course of the Pain Relief Project, you will learn from 27 experts who have been where you are and have found natural solutions to combat serious health challenges. From arthritis to multiple sclerosis, cancer to terminal illnesses, our experts represent the fields of holistic wellness, nutrition, chiropractic care, spirituality, personal development, longevity, exercise and more.

The Pain Relief Project will provide you with the information you need to:

  • Learn why your pain is not an illness but is sending you a message
  • Eliminate the cause of the pain/problem and focus on healing
  • Find the most effective natural ways to eradicate your pain
  • Learn immediate tools to restore your health and vitality
  • Develop a plan for optimal present and future wellness

Our Speakers include:

  • Dr. Tom O’Bryan
  • Dr. Dane Donohue, DC
  • Mike Adams
  • Dr. Perry Nickelston, DC
  • Steve Hoffman, DC
  • Dr. Deanna Minich
  • Dr. Kelly Starrett
  • Dr. John DeMartini, DC
  • Dr. Liz Anderson-Peacock
  • Robb Wolf
  • Dr. Jeff Spencer, DC
  • Dr. Daniel Pompa, D.PSc
  • Dr. Gilles LaMarche, DC
  • Dr. Steven Geanopulos, DC, DACBN
  • Dave Asprey
  • Esther Gokhale, L.Ac
  • Jen Sincero
  • Dr. Patrick Gentempo, DC
  • Dr. Kellyann Petrucci, DC, ND
  • Mr. Jimmy Moore
  • Dr. Janice Hughes, DC
  • Dr. David Fletcher, DC
  • Dr. Terry Wahls
  • Dr. Russ Rosen, DC
  • Dr. Christopher Kent, DC, JD
  • Suzy Cohen, RPh
  • Dr. Eric Plasker

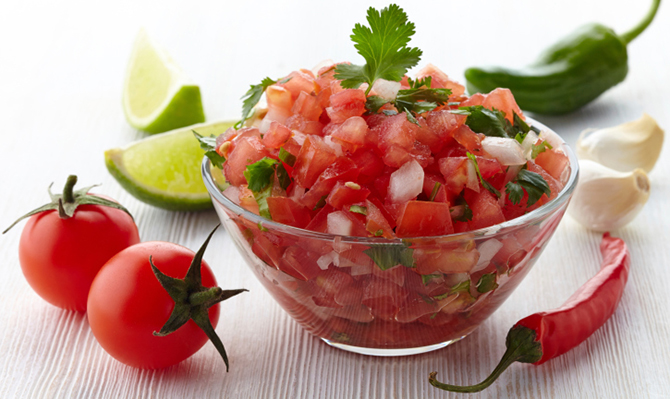
Easy Lacto-fermented Pico De Gallo

Equipment:

  1. Quart  mason jar
  2. Sharp Knife
  3. Mixing Bowl
  4. Large Spoon

Ingredients:

  1. 6 Medium Tomatoes
  2. 1 Large Onion
  3. ½ Bunch Cilantro
  4. 6 Cloves Garlic
  5. 1 Bell Pepper or Hot Peppers to taste
  6. Sea Salt and Pepper
  7. Pickle Juice, Sauerkraut Juice, or Vegetable Culture Starter from Body Ecology

Method:

Chop up tomatoes and squeeze out additional water and put in a large mixing bowl.  Chop up all other vegetables to your desired size and place into the mixing bowl as well.  Add 1 tsp. of salt and ½ tsp. of pepper and massage this into the veggies.  Pack this mixture into the mason jar.  Now take the pickle juice or sauerkraut juice and cover the veggies.  Make sure that they are and remain fully submerged.  Make sure to leave at least 1 to 2 inches of headroom and cover with the lid.  Let sit on the counter for 3 to 5 days then transfer into the fridge and enjoy.

**If you need more liquid just combine some salt with water and use until veggies are covered.  If you use a veggie culture starter mix the starter with water and use this to cover your veggies.

**I have fermented onions, garlic, and pickle juice at all time in my fridge and use this.

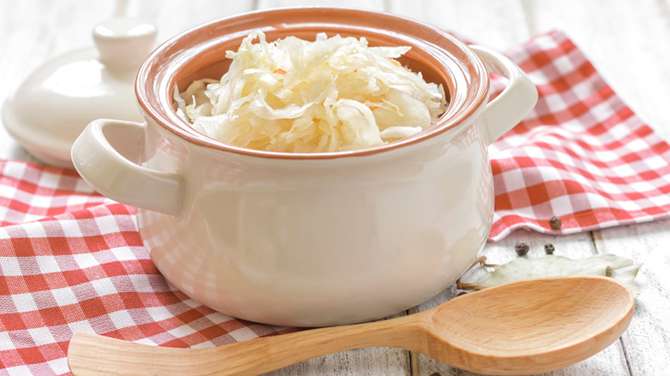
Easy Basic Paleo Sauerkraut Recipe

Equipment:

  1. Quart  mason jar
  2. Sharp Knife
  3. Mixing Bowl
  4. Cutting Board

Ingredients:

  1. 2 Pounds Cabbage (Green or Red)
  2. 4 Teaspoons Sea Salt

Method:

Remove all outer leaves from cabbage and then measure out the 2 lbs. Cut in half then in half again resulting in 4 pieces.  Remove a little bit of the core from each piece and you are ready to slice.  It is your preference, coarse or fine, up to you just make sure it is all uniform.  You can also use a food processor with a “slice” wheel to shred your cabbage as well. Put in all in a mixing bowl and add the salt.  With clean hands firmly massage the salt/cabbage mixture to release the liquid from the cabbage.  This can take up ten minutes.  Pack this mixture into your jar pushing and squishing it in as hard as you can using any implement.  The objective is to have the liquid rise above the cabbage and leave at least 1 inch of space between the top of the cabbage and the mouth of the jar. Put the lid on and place in a cool dark place or on the top of your counter as long as it is out of direct sunlight. Check every day or two with a clean fork and push down to make sure the water level is above the cabbage.  7 to 10 days should be enough but its ready when the taste suits you. It could take longer depending on the temperature. Place in the fridge and enjoy!

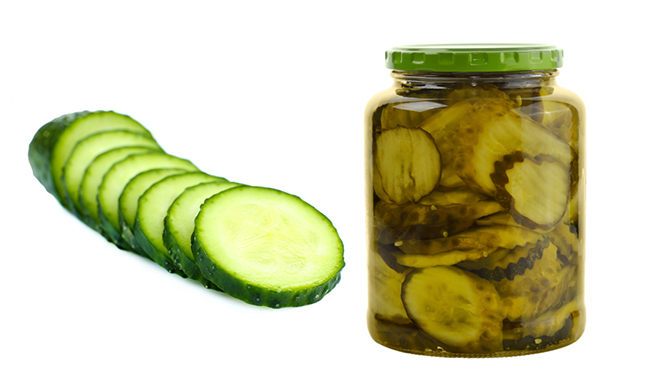
Naturally Fermented Sliced Pickles

During my last trip to Life Enhancing Farms in Lancaster, PA, I brought back a jar of lacto-fermented sliced pickles.  They were absolutely delicious so I decided I was going to make my own when this batch was finished.  Using the left over brine I made my own.  Once you make your first batch you will always have enough brine to make more and to spread the wealth to your friends and family.

Equipment:

  • Quart mason jar
  • Sharp knife
  • Mixing bowl
  • Wooden spoon

Ingredients:

  • 2 organic cucumbers
  • Himalayan or Celtic sea salt – 2 tsp to 2 TBSP depending on taste for salt
  • Filtered water (no chlorine)
  • Pickling spices, if desired
  • Body ecology veggie started dissolved in about ½ cup water, ¼ cup brine from previous batch, or fresh whey

Method:

Cut each cucumber length wise in half and slice each into very thin half circles. With clean hands sprinkle 2 tsp salt on sliced cucumbers and massage them gently so that each slice is coated with salt.  Take a quart mason jar and put in the brine or veggie starter then slowly fill up the jar with the cucumbers every so often firmly pushing them down allowing some of their natural juices to release. You want to leave  2 inches at the top for expansion.  Once you have all the cukes in you want to make sure that the water/brine level is covering your pickles, this is an anaerobic process.  If it is not you have to make a filtered water/salt solution and fill the jar until it covers the pickles.  You can add your dill at this time if you choose then put the lid on the Mason jar.  It seems to me like 2/3 days at room temperature works very well, you have to experiment.  Remember: warmer – it will ferment faster, and cooler – it will ferment slower.  Once or twice a day open up the lid to the pickles and push down the top layer so they are submerged.  This will help to avoid any contamination. After the 2/3 days put in the fridge and enjoy.  Save the brine and reuse!

Beet Kvass Recipe

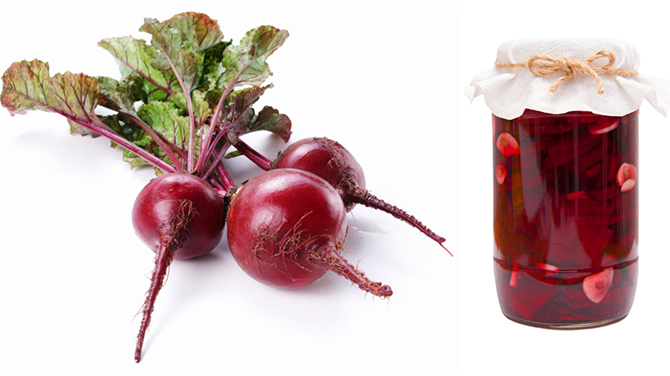
This is a beverage/tonic that I first bought from Life Enhancing Farms in Lancaster, PA. This fermented drink packs a ton of nutrition because of the beets themselves.  Beets have been traditionally used as a blood tonic, to aid the liver, high alkalinity, and help digestion and regularity.  Beet kvass is slightly salty, slightly sour, and certainly tastes like beets. I generally have this first thing in the morning mixed half and half with water.  I have also found it to be very, very refreshing while working outside in the garden or in the yard on a hot day.

Equipment:

  1. 1 quart mason jar with lid or any old jar with a lid.

Ingredients:

  1. 2 organic  medium sized beets, any variety
  2. 1 tsp  celtic sea salt or Himalayan salt
  3. Filtered water
  4. ¼ cup whey or ¼ cup previous batch or ½  package or veggie starter culture from body ecology mixed in ¼ cup filtered water

Peel and coarsely chop the beets and place in the mason jar with the culturing agent and salt.  Fill the jar up with filtered water leaving 1 inch at the top and shake vigorously. Keep this at room temperature for about 3 days then transfer to the fridge.  Once most of the liquid is used, fill up with water again, add 1 tsp. salt, shake and leave again for 3 days.  After this batch is used, eat or discard the beets and save some liquid to make your next batch with fresh beets. If you want a slightly carbonated drink transfer the kvass into a flip top jar and leave out for another day or two.

Dr. Noah’s Kombucha Recipe

Equipment:

  • Glass ½ gallon mason jar
  • Cheese cloth
  • Rubber band or lid for mason jar

Ingredients:

  • Filtered Water
  • ½ cup organic white sugar
  • 3 bags of organic tea black, green, or white
  • Kombucha mother and ½ cup booch from previous batch

Method:

Boil enough water to fill the mason jar 2/3 the way full, add sugar and tea bags, and let cool. Remove tea bags and discard. Now add kombucha mother and ½ cup reserved booch, put the lid on loosely or cover with cheese cloth.  It seems that covering the jar with a clean rag or cheese cloth may work better than putting the lid on, you may need to experiment.  Secure the cheese cloth or rag with a rubber band so it doesn’t fall off, and let the culturing process begin; anywhere from 10 days to three weeks depending on the temperature.  Cooler the temperature the longer it will take; higher the temperature the shorter it will take. If it’s left long enough it will turn into Kombucha vinegar (very good). The more consistent you are the more consistent your booch will be.  Remember cleanliness and keeping all equipment sterilized is very important!

A new mother will grow during the fermenting process.  You can share this, store this in the fridge with a little liquid and sugar, or simply discard it! It looks like a pancake.  It is possible that it will be stuck to your other mother, and you may have to separate it very, very gently.

Remember this is an alive organism and is sensitive to heat.  It is not too difficult to kill your Kombucha Mother, so be careful. .

What & Why of Cultured and Fermented Foods!

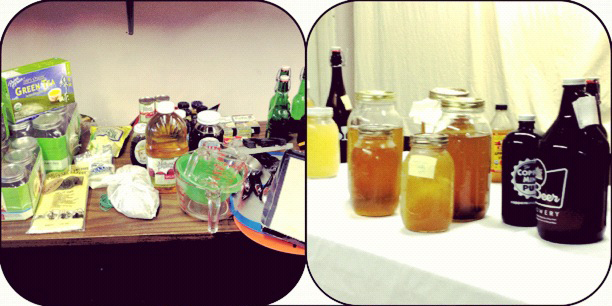
Fermenting foods has been around for thousands of years. It serves two primary purposes: 1. To help preserve foods and 2. To make foods more nutritious and digestible. Societies and cultures throughout time, continuing today, use these practices.  Without fermentation we would be without wine, beer, cheese, and bread to name a few staples in our world today. With the advent of packaging, refrigerators, irradiation, and other food distorting techniques this art is nearly becoming lost.  Over the last 20 years we have seen a huge introduction of yogurt and yogurt products in the supermarkets but these products are suboptimal at best. They are filled with sugars, artificial sweetners, and other products that all but negate any positive benefits. It’s time to make your own!  My hope is to ignite a spark inside you to investigate this ancient practice a little more. In the process you will be preserving a part of our culture, others culture and at the same time you will be increasing the level of your health and well being.

A few benefits of fermented foods:

  1. There are more microbes in our gut then cells in our body. Eating fermented foods help to restore your digestive tract with the proper microflora. This improves the function of your immune system, digestion, and your brain.
  2. Fermented foods are easily digested, rich in enzymes, and through this process vitamins and antioxidants are actually created and increased.  For example; Vitamin K2 a potent cancer fighter and bone builder is increase when making kefir or fermented soy products such as natto.  Another example is Vitamin C which is increased when cabbage is fermented to make sauerkraut or kimchi.
  3. Cancer causing compounds like acrylamide and nutrient depleting compounds like phytates are reduced through the process of culturing foods. This in turn as stated before makes foods more nutritious and more digestible.
  4. Fermentation increases the lifespan of foods allowing you to enjoy local and raw foods throughout the winter.
  5. Studies have shown that fermented foods can reduce the risk of cancer, obesity, and metabolic syndrome and other diseases associated with this!
  6. As you restore the integrity of your digestive system you in turn will increase the function of your central nervous system primarily your BRAIN!

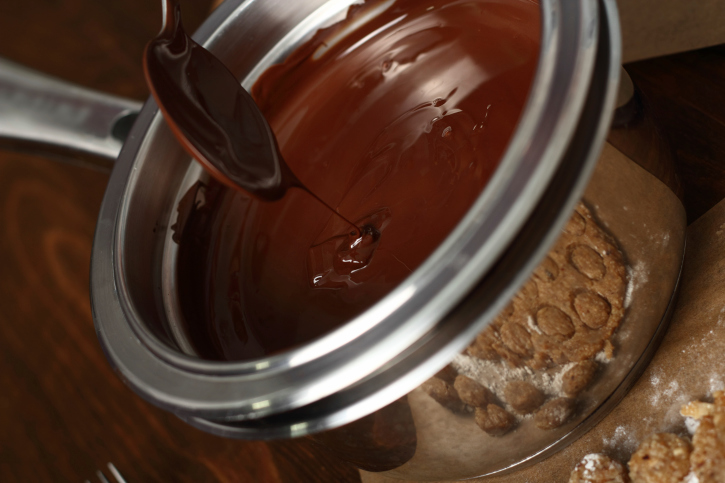
Dr. Noah’s Icebox Paleo Fudge

Ingredients:

8oz. almond butter
6 tbs. melted coconut oil
6 tbs. 100% cocoa powder
2 tbs. 100% maple syrup
2 tbs. unsweetened shredded or flaked coconut

Directions:

Mix all ingredients in a bowl.

Pour the mixture in an 8in by 8in pan lined with parchment.

Place in the fridge for a few hours, remove and cut into cubes.

Place in a container and store in the freezer.

** Any unsalted nut butter will work and honey can be substituted for the maple syrup!
**Other super foods additions can include goji berries or cacao nibs.

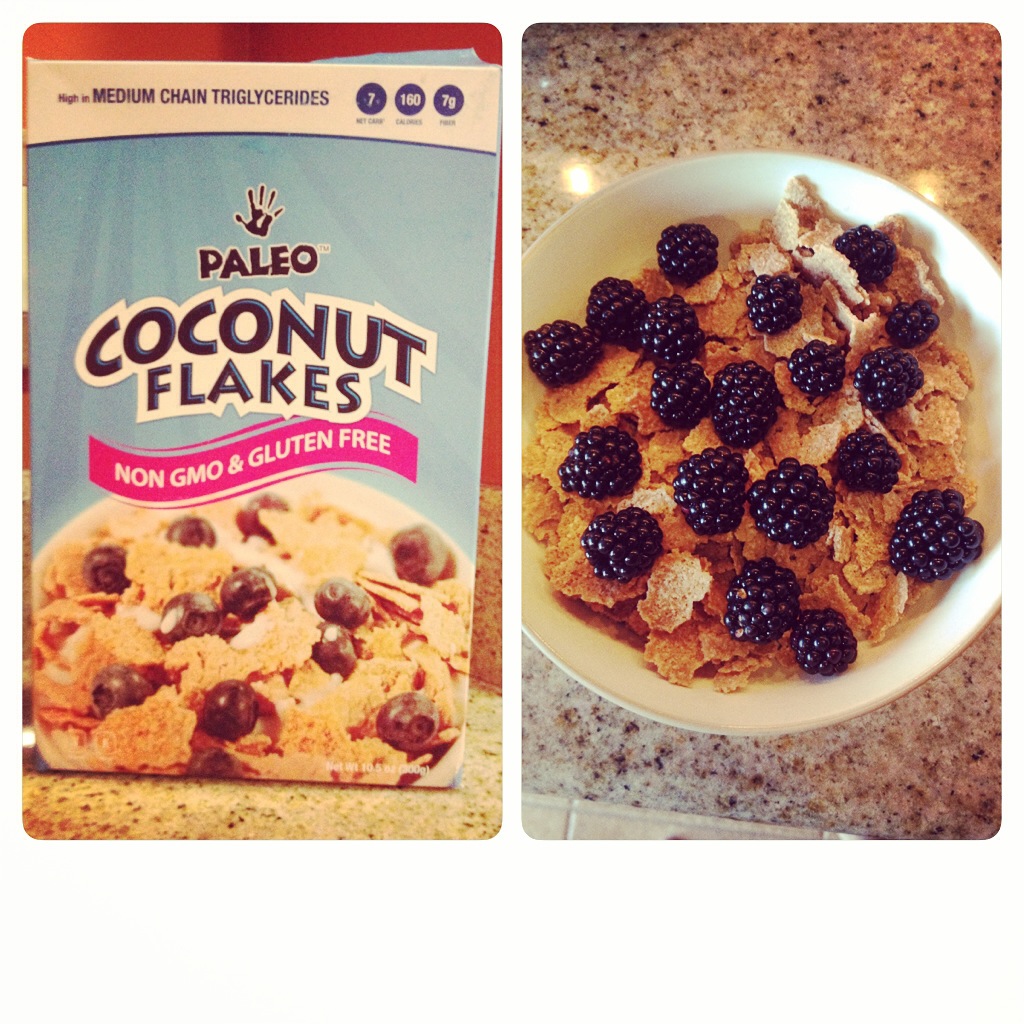
A quick review on Julian Bakery’s Paleo Coconut Flakes

Eggs, eggs and bacon, eggs and sausage, hard boiled eggs, fried eggs, etc…. but what if you can’t tolerate eggs! What if grass fed whey protein doesn’t fit into your Paleo Paradigm, or Bullet Proof Coffee doesn’t toot your horn. What are you to do? I may have found an option for you.

Julian Bakery just released its take on cereal called Paleo Coconut Flakes. For those of you familiar with Julian Bakery they also made waves through the Paleo Community with Paleo Wraps.  Here is what I like and do not like about this product.

LIKES:

  • Only 3 ingredients – coconut meat, coconut water, and palm starch
  • Relatively high in fat, low in protein, and low in sugar
  • Tastes very good with good texture that holds up to coconut milk well
  • Sweet enough so that added sweeteners are not needed.

DISLIKES:

  • Box lists 10 servings in the entire box – this is ridiculous – 3 is more like it
  • Price – $8.99 a box

All in all I highly recommend this product as a quick and easy breakfast solution.  You can purchase it at www.julianbakery.com/paleo/

Dr. Noah De Koyer

201-437-0033

www.fccofbayonne.com